 When I woke up this morning needing to reply to three separate messages (and I’m sure one or two comments I’m forgetting) asking about resources and information for teaching in Korea, I decided to just write this blog post for once and for all.
In this instance I’m just adding my one little voice to the thousands of great resources and guides that already exist. With a little Googling you’ll turn up far more information than you know what to do with! That being said, the requirements seem to change all the time, so maybe my experience in 2014 will be helpful and relevant to you. I’m going to start from the premise that you already want to teach abroad, and specifically in South Korea, specifically at a private school or hagwon. Please note: I am by no means an expert on this topic. All the information below is based on my personal experience applying from Canada (but I will include information relevant to other countries when I can).
Resources
Why Teach in Korea?
How To Teach in Korea
- FAQs from That Backpacker
- FAQs from Great Big Scary World
- FAQs from Around the World in 80 Jobs
- FAQs from An American Teaching English in Korea
 Documents
This was the area that caused me the most stress and confusion. Ultimately, you want to get an E-2 Visa from the Korean government, so the easiest way to figure out what you need is to go to the website of your local Korean consulate and they should have a section detailing what you need for the E-2 visa (for example, here’s the section for Toronto). Go East Recruiting has a great – and as far as I can tell, up-to-date and accurate – guide to what documents you will need and the different requirements based on the country you are from. You can find it here.
The first thing you need to do is order sealed transcripts from your university. Depending on where you went to school, these may cost money or they might be free. You’ll probably need 3 all together. When they arrive, don’t open them.
You’ll also need to order a police check. This is the thing that takes the longest and can really stall your applications. You can start applying for jobs before your check arrives, but the process will move a lot quicker if you are an applicant with all their documents in hand. For Canadians: as far as I can tell you can order either a local police check or an RCMP police check. For both, you’ll want to check off “Vulnerable Sector Search”. The VSS isn’t a separate check, it’s merely included in the regular police check. You can get more information on specifics for different countries using this guide.
Then, make a copy of your university degree at your local printing shop on standard 8.5″x11″ paper. Find a notary in your area and ask them to notarize the photocopy. You have to bring your original degree, but my notary barely even looked at it. Most notaries know all about the process of applying to teach in Korea and should understand what you’re talking about when you ask for your degree to be notarized. It cost me around $30. You should make a couple copies of the notarized photocopy of your degree just in case.
Once you have your police check, transcripts and notarized degree in hand, head over to your nearest consulate. Again, check the website for detailed specifics (example here) but you will probably need around $10 in cash, your passport or driver’s license, and your original degree. (That’s right, even though you got your degree verified, you still also need to bring it along! Lots of red tape.) In my experience, you do not need your criminal record check notarized by a notary, but you do need to have it verified at the consulate.
Once these verifications are complete, please note that you do not have a visa. These are just the first of several steps in getting a visa. Once you get a job offer, you’ll courier your documents to your school and they’ll complete the necessary paperwork for you in Korea. When that’s completed and processed, they’ll get back an E2 Visa issuance number from Korean immigration. They’ll send you the issuance number and you’ll take it to the consulate to apply in person. Your visa will be stamped into your passport within a few days.
Another note on documents: in my experience you do not need a TESL certificate. Some schools will want you to have one, and so if you find an awesome job that you desperately want, you’ll have to decide if it’s worth it to you to do a certification. I had one job offer from a school who said it was mandatory and two job offers from schools that didn’t mention it even once. In the end, I went with the best offer and didn’t need to get my TESL. I became skeptical about getting it when I learned that, while you might learn something helpful from your course, the certification isn’t regulated by any governing body and so anyone can technically set up shop and teach TESL – you can get them online, for $200. You can also do in-person courses that are considerably more expensive, but which (so I’ve heard) teach you a lot more practical, hands-on lessons about teaching. It’s up to you, but don’t feel that it’s necessary. Some schools will want it and (most) others won’t care.
 Recruiter
I recommend shopping around when it comes to a recruiter. Do not feel obligated to stay with one, even if they get you an interview or two. There are a ton of recruiting agencies and they often don’t have your best interests at heart. That’s not to say that they want to put you in a horrible job, it’s just that they want to place you as quickly as possible in a pretty good job and move on to their next client. You really have to be your own advocate here. Decide what city you want to teach in, and do a little research to find out what area of that city you might like best. When I said I was only interested in teaching in Busan, my recruiter tried to put me in the outskirts of Busan, at the end of the metro line. Know what you want and be firm.
I used Tony of Gloii Recruiting initially, but he stopped responding to my emails after my first job offer fell through. I do have friends that were placed successfully with him, but other friends had the same experience as me. You could also use recruiters like Teach Away, Footprints or Korvia. Note: I applied to some of these, but when I had a hard line on the area I wanted to teach in they didn’t have any job listings for me. If you’re flexible about where you work, you could get a job in less than a week. If you have a particular area in mind you most definitely can still find a good job, it just might take you slightly longer.
In the end, I worked with Kate from My Etec and she got me my job here in Busan. I found her by looking through the Jobs listings on KoreaBridge and applying to postings that looked good. She was totally awesome throughout the whole process and I ended up in a really great job in a great location. I would definitely recommend looking on the job boards on KoreaBridge and Dave’s ESL Café to see what’s out there and applying for things on your own, even if you’re already working with a recruiter.
Interviews
There’s not much to say here, except be enthusiastic. They mainly just want to see you or hear your voice, check that you can speak English and make sure that you seem like a nice, normal, energetic person. Be prepared for them to possibly ask you personal questions, like what your parents do for a living or how old you are. Be prepared for the possibility that you won’t be able to see them in the video call or that they won’t be able to see you. Be prepared to do your interviews at 10PM. They will likely offer you the job on the spot at the end of the interview, or you’ll hear one way or another from your recruiter right after.
 Timing
If you’re planning to teach at a hagwon, you can apply at any time of year. The “semesters” usually start in March and September so there may be more listings then, but since these are private schools it’s quite a loose designation and most schools are hiring constantly depending on need.
There were about 2 months from the day I applied for my police check to the day I flew out of the country – early January to early March. I would recommend beginning the process about 3 months before you want to leave because it can be very stressful waiting for your police check to arrive, finding a recruiter and getting a job offer that seems fair, and you don’t want to feel rushed on top of the stress you’ll already feel.
Don’t settle!
Trust me, I know exactly how stressful it is applying for these jobs from home. You usually just want the process to move quickly and are totally ready to take whatever job comes your way. Don’t. I know it can feel like you won’t get a better offer or that the details that seem sketchy about your offer won’t be a big deal in practice. But they will be! Decide on the things that are the most important to you – for me these were location and salary – and then don’t compromise. It can be scary to turn down a job offer without a backup, but I promise that:
- You will not be happy if you compromise on the important things.
- It’s a full year of your life! I know once you make the decision to move to Korea, you want to get here ASAP, but take the time to do it properly and you’ll have a much better experience.
- Another job offer will come along. A better one.
Currently the job standards (at least in Busan, where I live) are a salary of 2.1 million won, a 7 or 8 hour work day, 10 days of vacation during the year, a furnished apartment, flights to and from Korea covered, and a year-end bonus equivalent to one month’s salary. You don’t have to settle for less, these jobs are out there.
***
Good luck! Coming to Korea to teach English has already been such a rewarding experience. While my job isn’t the highlight of my time here, it opens the door to so many other possibilities for me. It’s given me the money, the time and the space to pursue other passions, have lots of lovely adventures, and start to figure out what I want my next steps to be. I would highly recommend it to anyone who feels stuck or unsure about their next move.
If you have any other questions, let me know in the comments below! You can also send me an email at stephanie @ lifeinlimbo.org. I’ll try to keep this post updated as things come up.



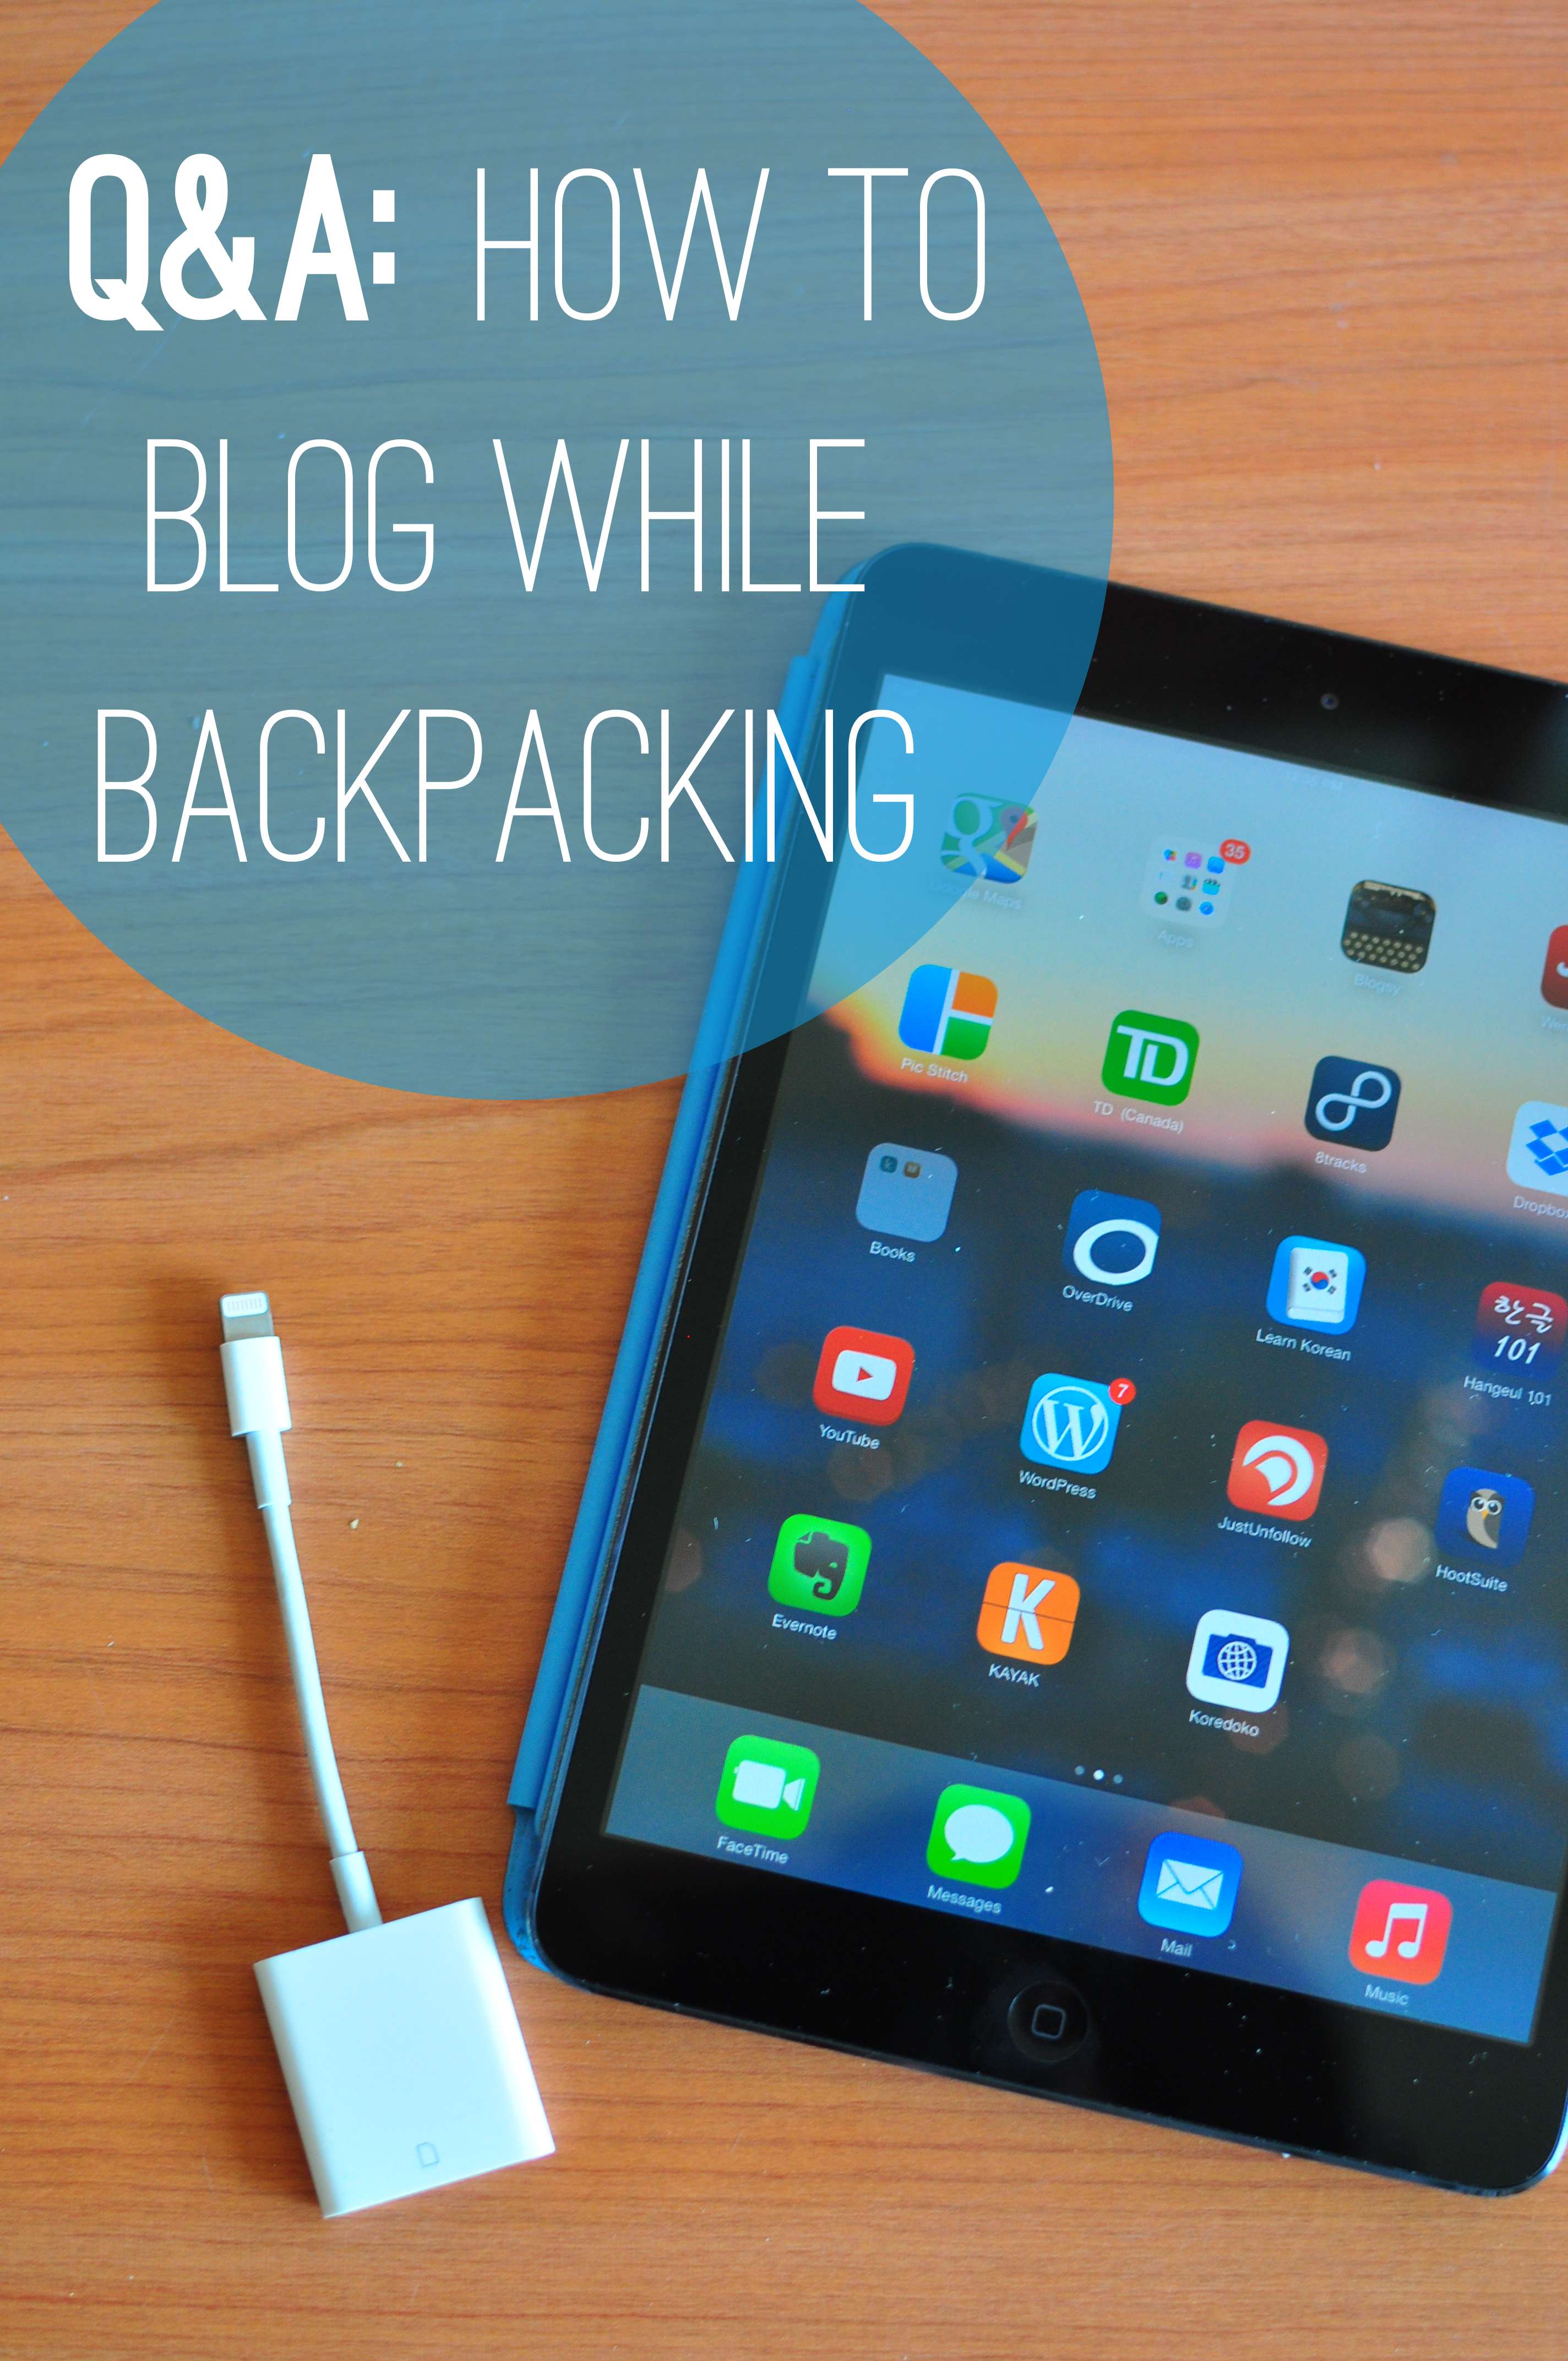
 Blogging on the road can be kind of challenging at times. Since I’ve been blogging for so long, I know how to fix typos from my phone, and how to easily edit the back-end html of my posts if something doesn’t look right. I’ve had lots of practice with typing out blog posts and hitting publish, so in general it doesn’t take me very long to write new content. But if it’s brand new for you as you start your trip, you might get frustrated along the way and give up if it starts to suck up too much of your time. After all, you’re on a trip to experience brand new parts of the world, not to sit around in internet cafes hitting your head against the proverbial wall because your latest post just went up in a puff of smoke.


